


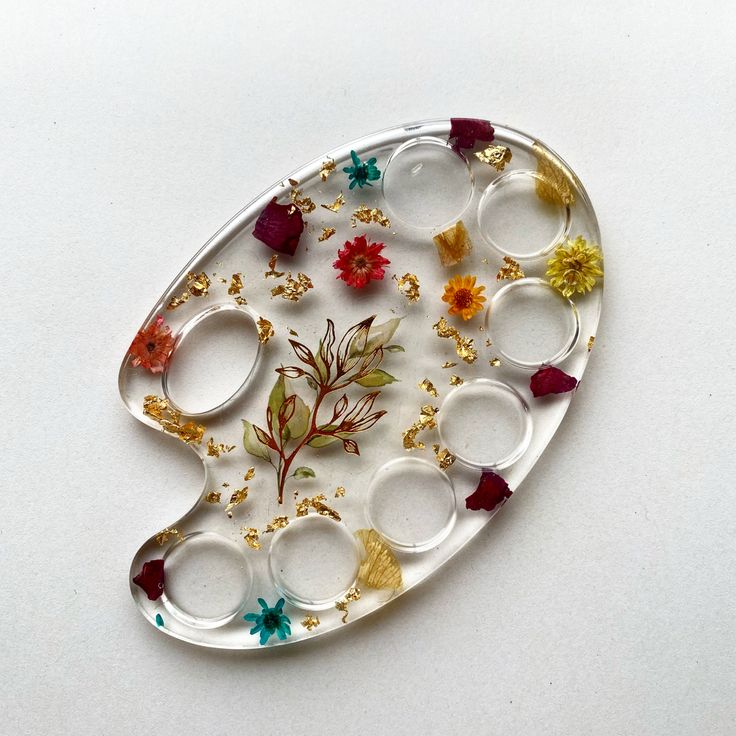
Resin moulding has taken the crafting world by storm. With its glossy finish and endless possibilities, it’s no wonder so many are drawn to creating unique pieces using this versatile medium. Whether you’re looking to make stunning coasters, intricate jewelry, or even artful decor items, mastering resin techniques can elevate your creations from ordinary to extraordinary.
But let’s face it—resin moulding can be a bit tricky for beginners. The good news is that with the right knowledge and practice, anyone can achieve flawless results. In this guide, we’ll walk you through everything you need to know about perfecting your resin mould techniques. From essential materials to common pitfalls, let’s unlock the secrets of successful resin crafting together!
Materials and Tools Needed for Resin Moulding
To get started with resin moulding, having the right materials and tools is key. First up is epoxy resin. This versatile medium comes in two parts: resin and hardener. Make sure to choose a high-quality option for the best results.
Next, you’ll need moulds. Silicone moulds are popular due to their flexibility, making it easy to remove your creations once cured. You can find them in various shapes and sizes.
Don’t forget mixing cups and stir sticks—these will help you combine your resin components evenly. A scale can ensure precise measurements.
Safety gear is essential too! Gloves protect your hands from sticky situations, while a mask shields you from fumes during mixing.
Consider adding pigments or glitter for unique effects that elevate your projects further. Each element plays a crucial role in achieving stunning outcomes while working with resin.
Step-by-Step Guide for Resin Moulding
Start by preparing your workspace. A clean, flat surface is essential for avoiding any mishaps during the process. Lay down some protective covering; resin can be messy.
Next, gather your materials. You’ll need epoxy resin and hardener, a mixing container, gloves, and stirring sticks. Measure equal parts of resin and hardener according to package instructions.
Mix thoroughly for about three minutes until you achieve a uniform consistency. Pay attention to air bubbles; stir gently to minimize them.
Once mixed, pour the resin into your mould slowly. This helps control bubbles and ensures an even spread. If you’re using additives like pigments or glitter, incorporate them at this stage for vibrant results.
Let it cure as per guidelines—typically 24 hours will suffice for most projects. Avoid touching or moving the mould during this time to prevent imperfections from forming on the surface.
Types of Resin Moulds
resin moulds come in various shapes and functions, each suited for different projects. Silicone moulds are among the most popular options. They’re flexible, allowing for easy removal of cured resin without damaging your piece.
Hard plastic moulds offer durability and precision. They maintain their shape well but can be trickier to demould. For intricate designs, consider using 3D printed moulds that provide unique patterns not found in traditional options.
Another exciting type is reusable silicone mats. These enable multiple pours with minimal cleanup between uses, making them a favorite for frequent crafters.
There are custom or handmade moulds tailored to specific needs. With creativity as your guide, you can explore endless possibilities in resin art!
Common Mistakes to Avoid
When it comes to resin moulding, even small oversights can lead to disappointing results. Being aware of common mistakes can save you time and resources.
One frequent error is not measuring ingredients accurately. Resin and hardener must be mixed in the correct ratio for optimal curing. Skimping on one or the other affects the final product’s strength and clarity.
Another typical mistake is insufficient mixing. It’s crucial to stir thoroughly, but avoid over-mixing as well; this can introduce air bubbles into your mixture, which are troublesome when trying to achieve a clear finish.
Many novice moulders also overlook surface preparation. Ensure that your moulds are clean and dry before pouring in the resin; any dirt or moisture can compromise adhesion or cause imperfections.
Temperature plays a significant role too. Pouring resin in extreme temperatures may hinder its ability to cure properly, leading to tackiness or cloudiness later on.
Patience is key! Rushing through the process—like demoulding too early—can ruin your masterpiece entirely. Allow ample time for curing based on manufacturer instructions before handling your newly created item.
Avoid these pitfalls by staying informed and taking your time with each step of the process. With practice and attention to detail, you’ll find yourself creating stunning resin pieces that reflect your unique style!


